How to create a Lesson using the Questions with Single Correct Answer and Inline Feedback Type?
You can ask a question and give multiple options but with only one possible correct answer. The feedbacks appear inline next to the questions at row level. The user can select only one answer per each attempt.
When to use this Type
You can use this component when you want the users select only one answer out of the choices from an answers list. If you want to give relevant feedback for each selected answer, this is the right component to use.
How it works
-
User selects single answer and clicks the Submit button
-
If the user has selected the correct answer, it will be highlighted in green and you will see a Feedback next to the selected answer you selected.
-
If the user has selected any wrong answer, it will be highlighted in red and you will see a Feedback next to the answer you selected and the Submit button changes to Retry button.
-
The user clicks the Retry button and the question and answers are reset. The Retry button changes back to Submit.
-
The user selects the answer again and clicks the Submit button. The selected answer is highlighted in green if the selected answer is correct.
-
If the selected answer is wrong, it will be highlighted in red and you will see a Feedback next to the answer you selected.
-
The button changes to Show.
-
The user clicks the Show button and all the correct answers are highlighted in green and the wrong answers in red.
-
The Feedback will appear at the row level after each answer.
Features of this Type
-
You can place an optional heading for the page. The description text on the right side is also optional.
-
The First Attempt, Second Attempt and Correct Feedbacks are also optional.
-
You can randomize the answers, so that the answers will appear in a random order whenever the page is loaded.
-
You can add as many questions and answers as possible.
Once you are in the slide in which this type of question should be added, you can create it by following the below steps.
Step1: Add a Title (Optional)

Type the title of the page on the Title field as shown in the above image. You can also change the format of the title. This field is not mandatory, and if you don't enter a title, it won't be shown as an empty space on the page.
Step 2: Add Description Left

You can add contents to the Description Left field as shown in the above image. You can also change the format of the text, add and remove hyperlinks and insert horizontal lines between the contents.
Step 3: Add Description Right (Optional)

Similarly, you can add contents to the Description Right field as shown in the above image. You can also change the format of the text, add and remove hyperlinks and insert horizontal lines between the contents. Please note that this field is not mandatory.
Step 4: Enable Divider (Optional)

You can add a divider between the description texts and answers. If you want to enable the divider, just check the Divider checkbox shown above. By default it is enabled.
Step 5: Make sure the Inline Feedback Checkbox is checked

If you click Inline Feedback checkbox, the feedback will appear next to the answers in a row. In our case, we need to make sure that it is enabled since we want the feedbacks appear at the row level after each answer.
Step 6: Check the Single Choice Checkbox

Since we want the user to select only one answer, we need to check the Single Choice checkbox shown above. Make sure it is checked.
Step 7: Randomize Answers (Optional)
If you click Randomize Answers checkbox, you make the answers display in an arbitrary order every time the page is loaded. This option is optional, and so tick the checkbox if you need so.
Step 8: Enter ‘none’ in First, Second and Correct Feedback Fields (Optional)

You can leave the First, Second and Correct Feedback fields blank or enter ‘none’ in these fields.
Step 9: Enter the Questions
Under Available options title, we can add as many as questions and answers as possible. Two empty questions are listed by default, since we usually need at least one correct and one incorrect answer.
Start entering the answers in the Answer fields. If the answer is correct, check the Correct checkbox as shown in the below image. Make sure that you check this checkbox for only one answer.

By default, there are only two answers available at the beginning. If you want to add another one, click the Add option [3] button below the two currently available options as shown in the below image.

Another Option will be added after you click the Add option button. You can remove any answer by clicking the X [1] button on the top right corner of the Option window. You can also change the order of the answers by dragging the Double Headed Arrow [2] button on the top left corner of the Option window. Similarly, you can add as many answers as you want.
Step 10: Type Feedbacks in the Feedback Field for each Answer
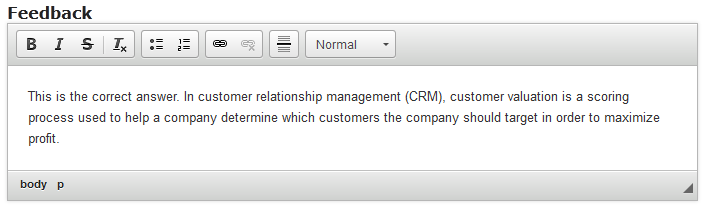
We need to display any feedback at the row level. So, type feedbacks in the Feedback text fields after each answer as shown in the above image.
Step 11: Click the Done Button

Once you've updated all the details, click the Done [1] button shown above to complete editing the page. You can cancel creating the page just by clicking the Remove [2] button shown above. If you click the Done button, you will see the below screen with a preview of the created page.
Step 12: Click the Create Button
If you still want to edit the page, just double click on the preview page, and you will be taken to the Edit page. If you've done all the changes, you can click the Create button as shown above picture to finish editing the page

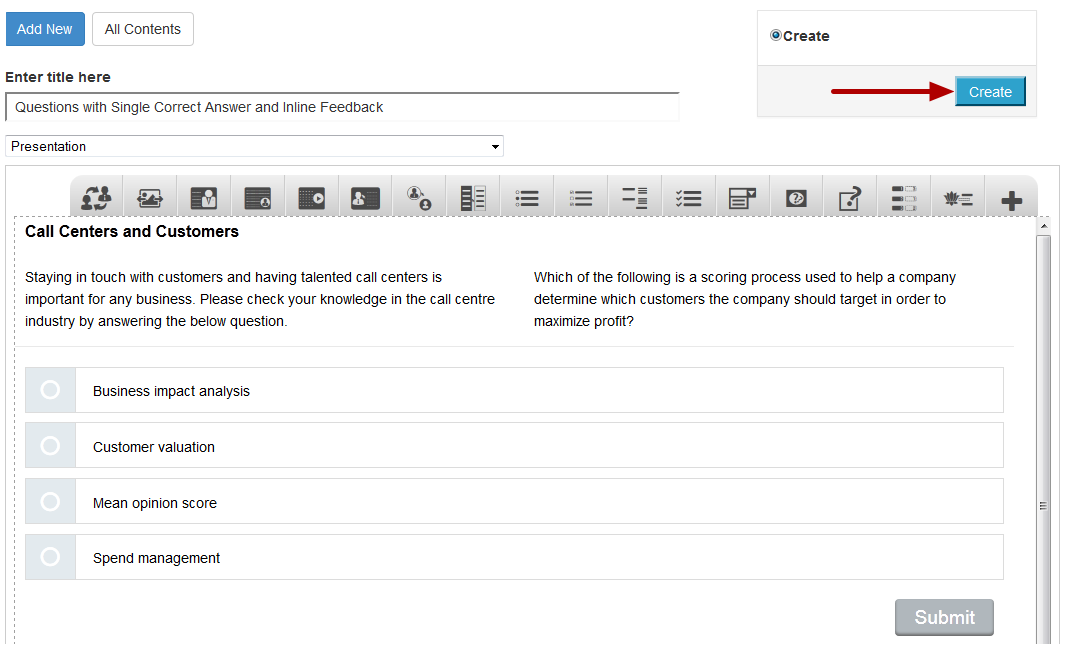
You can see the finished page created with “Multichoice Questions: Type 2 Component” component with “Questions with Single Correct Answer and Inline feedback” option as shown in the above image.
Notes
-
You can create as many pages as possible in a Presentation using this component.
-
The answers will be shown with a round, indicating that you can select only one answer.
-
Since the feedbacks appear at the row level next to the answers, the feedbacks won’t appear at the grey panel at the bottom of the screen. So, you can leave the First, Second and Correct Feedback fields blank or enter ‘none’ in these fields.
-
We need to display any feedback at the row level. So, you must type the feedbacks in the Feedback field after each answer.